Friday 26 April 2013

Birthdays and just for fun!

When I started making cards, I vowed I would not buy any cards, and there are number of birthdays on my list, so I have been busy!

First up is a card is a card I made for my friend Peggie.  She is quite a needlewoman so a card featuring sewing trinkets and charms was my choice for her.


I used CWC Bohemian papers, a nice soft look.  The dress form and bobbin was from a Tim Holtz die, cut in a kraft card.  I coloured the dressform with pro-markers and then gave it a coat of glossy accents.    I then drew round it  (remember "dressing dolls" that were in Bunty, or if you are youngster Twinkle?) and made a smart dress.  I used a flower from some ribbon, on top of a chiffon ribbon and put a smaller one at the base of the dressform. Of course she had to have some pearls, perfect pearls at the neck.  The bobbin had some chunky yarn wraped round it and a needle charm tucked into it.  I used other sewing related charms I have collected.  A couple more photos,

 Sorry about the fuzzy photo!


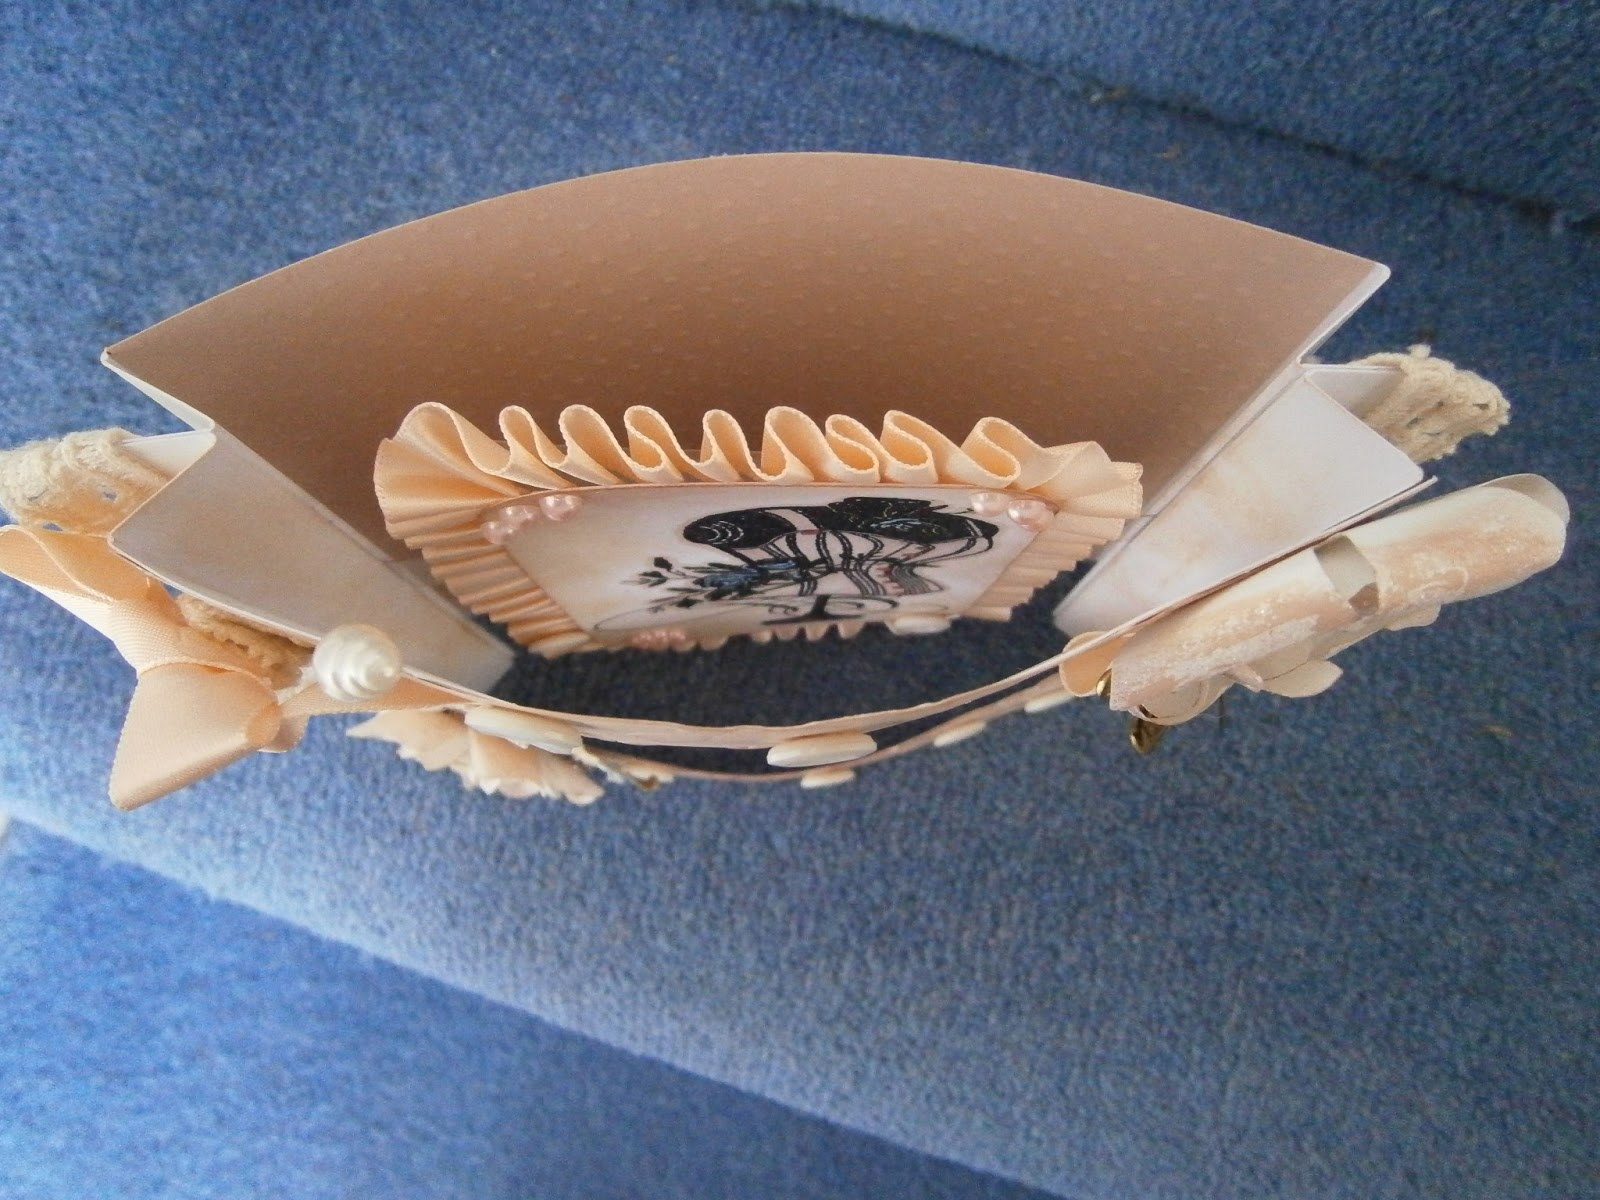
And another card for a friend for a special birthday, I was told not to put the number on it, we girls have to have a few secrets,


A tunnel card, with flowers (Karen style) die cut using X Cut Petal Posy flowers, (thanks Ali) ribbon pleated on the edges, I used bohemian papers again, but with distress ink pads and perfect pearls shimmer sprays.  The butterfly is on Wendy Vecchi modeling film, coloured with promarkers and then heated and shaped.  A new technique for me, I'll be doing that again!

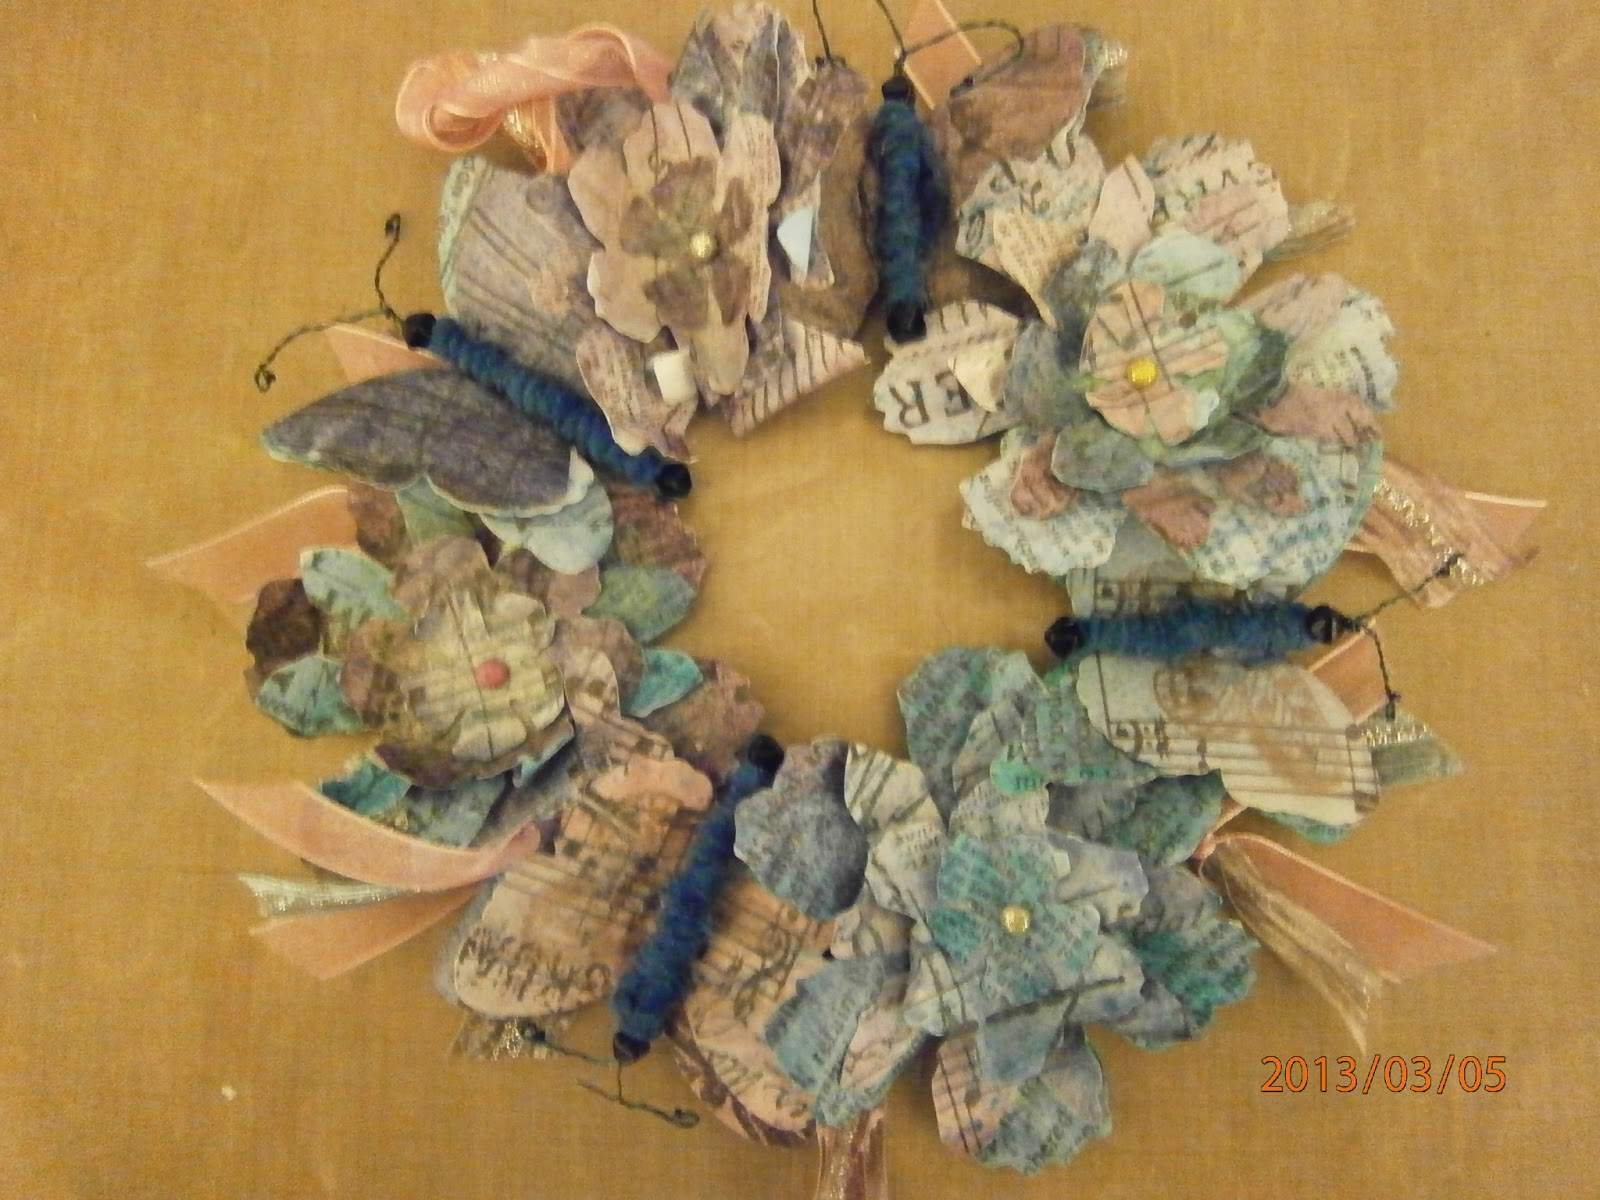
On the blog, I said I was up for doing anything crafty, I love making jewellery, a couple of new items with newish/revived techniques;


Kumihimo braid, a with semi precious stone, which had not been polished, I did sliding macrame knots to tighten it.


A necklace made out of tiger tail in macrame, with some grey plastic beads from my stash, it took a good few evenings to make, but it is really light to wear.  Will I make some more? well I did speed up making it, so I think I will, Watch this space!


Close up of the macrame, it took some getting back into, and a much smaller scale than the work I did back in the '70's.

Thanks for having a read of my blog and having a look at my new makes, would love your comments!!

Bye for now

Andrea xxx

Friday 29 March 2013

Happy Easter!

Happy Easter to one and all.  Here in West Yorkshire, it is cold and we have some snow on the ground.  Come on Spring!!

Today I am showing you a little project I made this week. I saw something very much like it somewhere, but I have forgotten where, so I can't give anyone credit!! If it is yours, put it in the comments with a link, and thank you very much! I loved it and it gave me inspiration.

Egg boxes, I recycle them usually to the Vet's where I get my eggs from and they refill the boxes, but I put some chocolate eggs in this one.


Firstly I painted the box and gave it a spray of Sparkle & Shine.  Using Craftwork Cards Bohemian papers, I die cut a label, stuck it on the top.  I then I pleated "Sari Silk" ribbon round the edge of the box.  Word of warning here, "red" tape is no good once you have sprayed the box, it pulled off, so it was very sticky glue that I covered myself and the box with.  I punched out some flowers and used some I had sat in my flower box and stickled them, just love stickles! And some pearls in the centres. Added a couple of butterflies, with the trusty stickles to make the bodies.  Some of the Sari Silk ribbon, stuck round the lid, and tied in a bow.

 And here is the inside;

I used cupcake wraps, cut down in each of the cups, then added the eggs.


Thanks for having a look at my blog.  Want a laugh? The cat was asleep on the back of the settee behind me, she has just fallen off.  She now has that look that cats have when something embarassing has happened to them.  "Me fall off the back of the settee, I meant to fall off, don't you dare laugh at me"  She is ok BTW, think she landed on her feet.

Andrea  XOXO!


Wednesday 27 March 2013

I Loved Grandma, Grandma's Liberty Bodice

My Grandmother was born in the late 1880's.  I remember her wearing Directoire knickers, they were made of a cotton jersey, a sort a salmon pink colour, the legs came down below her knees and were elasticed.  Needless to say twanging the elastic was a great game.

Another type of clothing from the time was the Liberty Bodice, I loved mine, fleecy on the inside and cuddly warm. Some friends had ones that buttoned to their knickers ( no cold backs) and some had rubber buttons down the front.

My memories were a big part of making the card I am showcasing today.


I had bought the stamp at GNPE, I used it and looked at it, it was so like Liberty Bodice!   

What I did:

Stamped image on to white card, embossed it, then coloured it with Putty Pro-Marker.  Blue and green pro-markers were used on the flowers on the image.  Matching satin ribbon was pleated round the cutout image.

I used a Craftwork Cards, Tunnel Card, and one of the embossed shapes, which just fits nicely on the diecut front.  The back of the card had a sheet of creamy pink, pearlised dotty paper attached, I tucked small pieces onto the corners of the front, to cover the white card. 


The embossed frame was coloured using Tim Holtz Distress Ink pads, Antique Linen and Victorian Velvet. I also used it on the edges, sides and inside of the card.


To put the card together, I cut a strip of acetate to fit the width of the card, sticking it to centre folds, then I used double sided tape on the centre folds of the sides to encase the ends of the acetate and join the centre folds, have a look at the photo below, which shows the inside of the card.


I added the image to the acetate.

Then the fun began adding "bits" lace, ribbon, blooms ( Thanks for the tutorials, Karen Hayselden!), buttons and hooks and eyes etc.


Hope you enjoyed having a look at "Gramdma's Liberty Bodice", I loved doing it, and feel a canvas coming on!

Cheers,

Andrea


Sunday 24 March 2013

Hi All!

Thanks for calling into my blog.  I created it to showcase and enter competitions so here goes.  I intended entering this in to the Tim Holtz Tattered Florals Challenge.  But heyho, it is too late!

I made this wreath after attending a fabulous workshop with Karen Hayselden. I loved the workshop and created this wreath the next day.

I used Tim Holtz Tissue Wrap, which I PVAed on to a sheet of paper.  I then painted and sprayed it and used Distress Ink pads. After drying, some of it lifted from the paper, nevermind, I die cut it using the Tim Holtz Tattered Floral die and a butterfly die.  Then built the blooms and the butterflies.  The blooms have pearls in the centre.  The butterflies bodies are made of  jewellery wire, folded in 2, with a black bead, then wrapped with cord from my stash, with a larger bead for the head.  The antenna are the wire with a very small bead, wrapped with the end of the wire.  Because some of the Tisssue wrap lifted from the paper it gives a delicate look to the blooms and butterflies.

Hope you like it!